How to run TensorFlow on the M1 Mac GPU
It takes not much to enable a Mac with M1 chip aka Apple silicon for performing machine learning tasks in Python using the TensorFlowꜛ framework. The steps shown in this post are a summary of this blog postꜛ by Prabhat Kumar Sahuꜛ (GitHubꜛ) and this YouTube videoꜛ by Jeff Heatonꜛ (GitHubꜛ).

Pre-check
Before we begin, please ensure that you have installed the macOS miniconda ARM versionꜛ. To check this, activate any existing conda-generated virtual environment, start a Python session and execute:
import platform
platform.platform()
You should receive something like:
'macOS-12.3-arm64-arm-64bit'
If this is the case, jump to the next section. Otherwise, you need to
- uninstall your existing conda installationꜛ, and
- install the miniconda macOS ARM version, e.g.
Miniconda3 macOS Apple M1 64-bit pkg.
Install TensorFlow
- Create and activate a virtual conda environment:
conda create --name conda_tf python=3.9 conda activate conda_tf - Install the TensorFlow dependencies:
conda install -c apple tensorflow-deps - Install base TensorFlow, the metal pluginꜛ and datasets:
pip install tensorflow-macos tensorflow-metal tensorflow_datasets
That’s it!
To verify that everything is installed correctly, open a Python session and run:
import tensorflow as tf
import tensorflow_datasets as tfds

print("[TensorFlow] version:", tf.__version__)
print("Num GPUs Available: ", len(tf.config.experimental.list_physical_devices('GPU')))
print(tf.config.list_physical_devices('GPU'))
If you get the following responses,
  [TensorFlow] version: 2.10.0
  Num GPUs Available:  1
  [PhysicalDevice(name='/physical_device:GPU:0', device_type='GPU')]
everything is set up well.
Benchmark test
We can benchmark TensorFlow using the following code snippet from GitHubꜛ:
%%time
import tensorflow as tf
import tensorflow_datasets as tfds
tf.config.list_physical_devices('GPU')
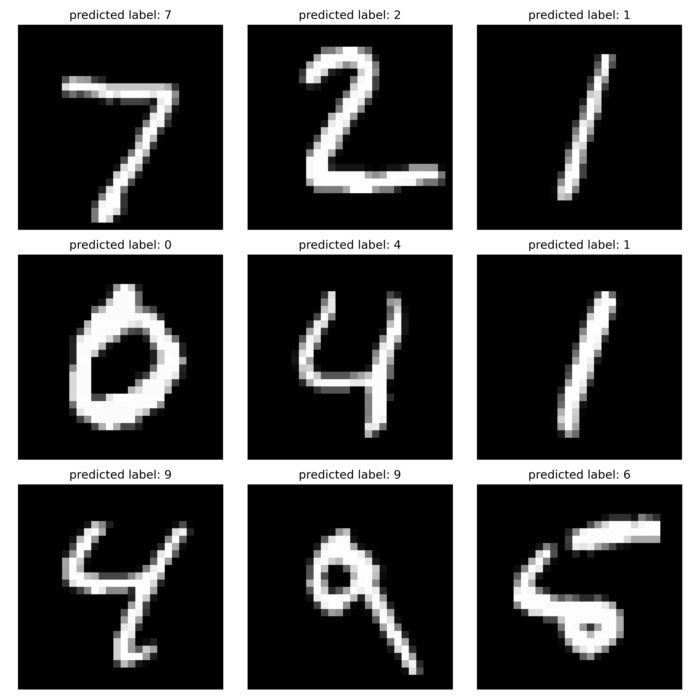
(ds_train, ds_test), ds_info = tfds.load(
'mnist',
split=['train', 'test'],
shuffle_files=True,
as_supervised=True,
with_info=True,
)
def normalize_img(image, label):
"""Normalizes images: `uint8` -> `float32`."""
return tf.cast(image, tf.float32) / 255., label
batch_size = 128
ds_train = ds_train.map(
normalize_img, num_parallel_calls=tf.data.experimental.AUTOTUNE)
ds_train = ds_train.cache()
ds_train = ds_train.shuffle(ds_info.splits['train'].num_examples)
ds_train = ds_train.batch(batch_size)
ds_train = ds_train.prefetch(tf.data.experimental.AUTOTUNE)
ds_test = ds_test.map(
normalize_img, num_parallel_calls=tf.data.experimental.AUTOTUNE)
ds_test = ds_test.batch(batch_size)
ds_test = ds_test.cache()
ds_test = ds_test.prefetch(tf.data.experimental.AUTOTUNE)
model = tf.keras.models.Sequential([
tf.keras.layers.Conv2D(32, kernel_size=(3, 3),
activation='relu'),
tf.keras.layers.Conv2D(64, kernel_size=(3, 3),
activation='relu'),
tf.keras.layers.MaxPooling2D(pool_size=(2, 2)),
# tf.keras.layers.Dropout(0.25), [h1]
tf.keras.layers.Flatten(),
tf.keras.layers.Dense(128, activation='relu'),
# tf.keras.layers.Dropout(0.5), [h2]
tf.keras.layers.Dense(10, activation='softmax')
])
model.compile(
loss='sparse_categorical_crossentropy',
optimizer=tf.keras.optimizers.Adam(0.001),
metrics=['accuracy'],
)
model.fit(
ds_train,
epochs=12,
validation_data=ds_test,
)
The total runtime on my Mac was 1min and 54s.


comments