The Napari Assistant
If you haven’t installed Napari yet, please do so before proceeding with this tutorial. To practice this tutorial, install the following package(s) in your activated Napari conda environment:
mamba install -y napari-assistant
Introduction
The Napari Assistant pluginꜛ is a collection of tools for many common image processing tasks. It comes with a graphical user interface and is a very handy tool for exploring and applying the image processing methods, that we have discussed so far, are yet to discuss and beyond.
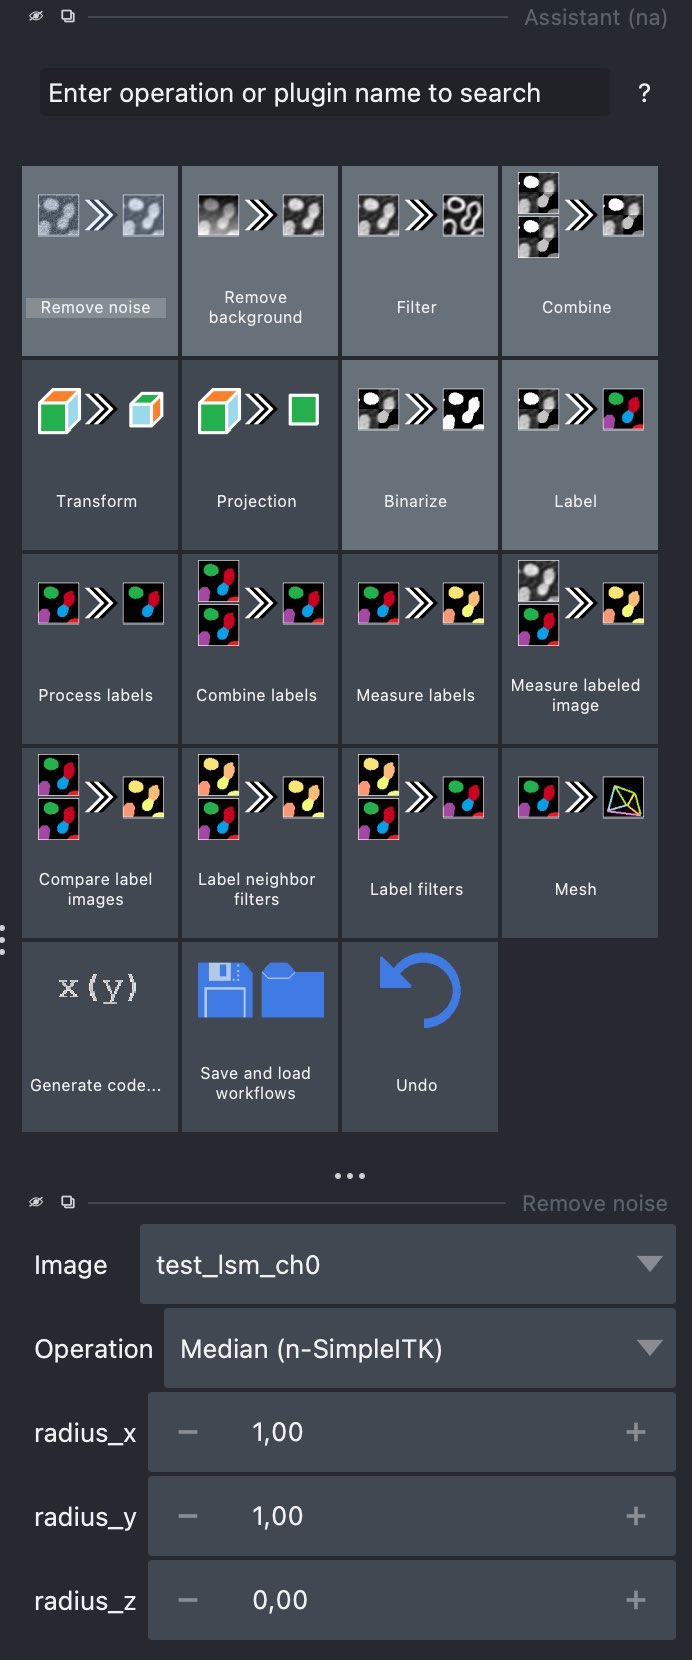
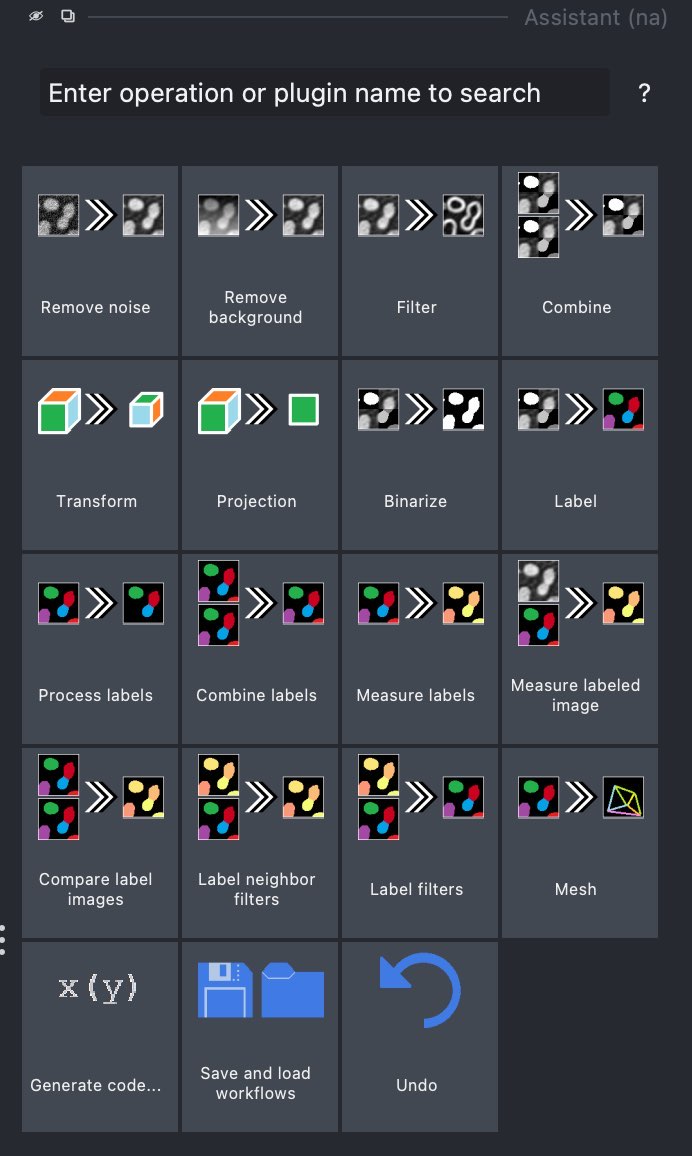
The Assistant widget can be opened via the Tools->Utilities->Assistant menu and will look as follows:
The Assistant offers a wide range of image processing methods, covering
- noise removal,
- background subtraction,
- image filters,
- image maths (combine, transform, project),
- image segmentation and feature extraction, and
- mesh transformation.
When you click on the desired image processing function, a new widget will open together with a new layer in the layer viewer. As usual, any image processing task in Napari is performed in a non-disruptive way, i.e., the original image is not modified. Instead, the results of the processing is added as a new layer. The new widget allows you to adjust the corresponding parameters of the selected function:
 Example of a widget for adjusting the parameters of a selected image processing function.
Creating image processing workflows
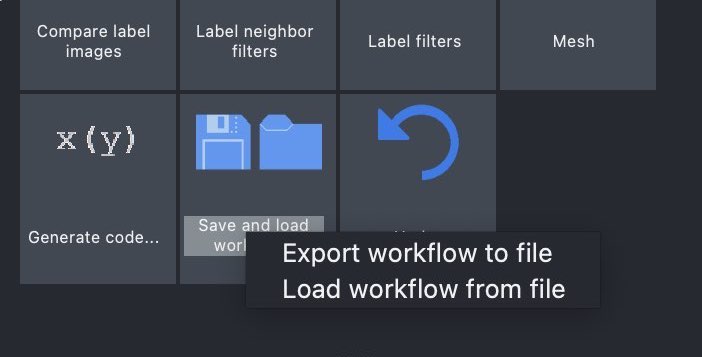
The Assistant is in fact designed for building image processing workflows. I.e., you can set-up your own pipeline of image processing steps simply by selecting and adjusting the corresponding functions. And when your pipeline is ready, you can save the workflow as a YML file and re-use it as often as you like:
 The Assistant let’s you save and reload entire image processing workflows as YML files…
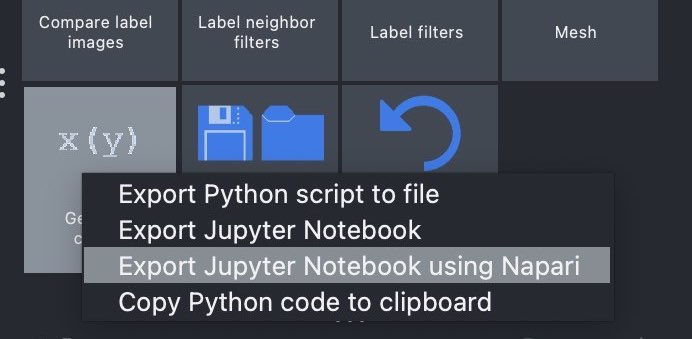
You can export your workflow as a Python script or Jupyter notebook as well:
 …as well as Python scripts or Jupyter notebooks.
Further readings
- Napari hub page of the napari-assistant pluginꜛ
- GitHub repository of the Napari Assistant pluginꜛ
- Napari hub page of the napari-simpleitk-image-processing pluginꜛ
- GitHub repository of the napari-pyclesperanto-assistant pluginꜛ
- Napari hub page of the napari-script-editor pluginꜛ
Acknowledgements
The Napari Assistant was developed by by Robert Haase (Websiteꜛ, Mastodonꜛ, Twitterꜛ, GitHubꜛ) and Ryan Savill (Blogꜛ, Twitterꜛ). Check out their websites as they contain many very useful and illustrative examples of image processing methods. And by the way, many of the plugins used in this course have been developed by Robert Haase.
